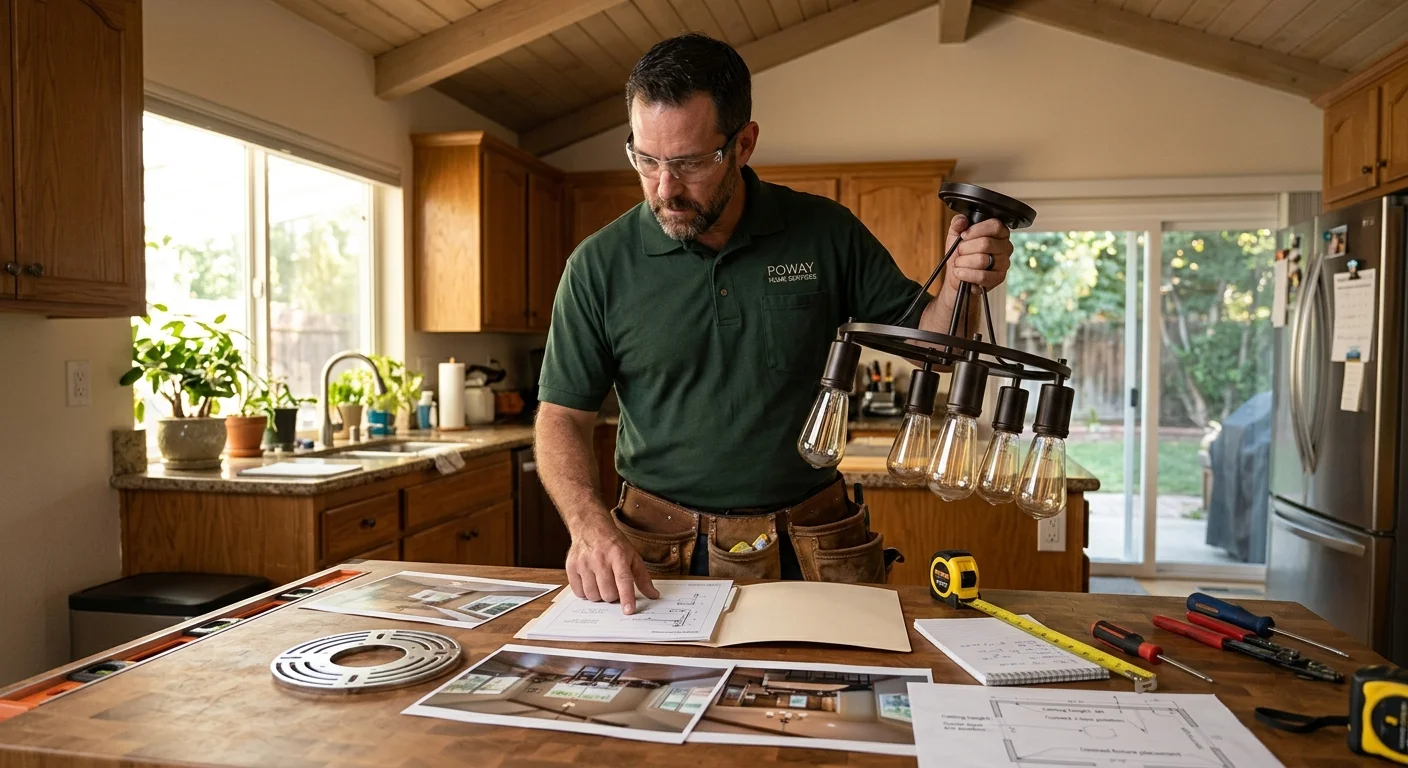
A Poway light fixture quote depends on the existing wiring, ceiling access, fixture weight, mounting hardware, and any finish repairs. For affordable fixture installation in Poway, compare a clearly defined scope instead of relying on an unsupported local price average.
Existing fixture swaps versus a new location
A direct fixture swap usually starts with an existing light, electrical box, and wall switch. The new fixture goes where the old one sits. That gives the pro a visible starting point, but it doesn’t make every swap identical.
The existing box still needs to fit the new fixture’s mounting system. The wiring condition also matters. A decorative base may expose an old paint line or ceiling opening. Missing screws, damaged wire ends, or an incompatible mounting plate can expand the work. Photos help, but the pro may need to inspect those parts before confirming the final scope.
A new fixture location is a different project. There may be no box, cable, switch connection, or suitable support at the requested spot. The route between the power source and new location matters. So does access above or behind the surface. Creating that route can involve electrical work and openings in a wall or ceiling.
No Poway-specific permit rule for fixture swaps was confirmed from the approved sources used for this page. Ask the pro which local authority covers the address and whether the planned work requires a permit. Confirm current CSLB and local permit rules for the proposed contract.
When describing the job, say whether you’re replacing a fixture or adding one. That single detail helps separate a straightforward light fixture installation request from a project involving new electrical work.
How ceiling height and access affect the scope
Room photos can hide the hardest part of a fixture installation. A close photo might show the fixture clearly while leaving out a tall ceiling, sloped surface, stair landing, or furniture below it. Send one close image and one wide image from floor level.
The pro needs enough working access below the fixture. A clear floor beneath a dining light presents a different setup from a light above a stairwell. Large tables, built-in cabinets, delicate flooring, or narrow approaches may affect equipment placement. Don’t move heavy furniture unless you can do it safely. Instead, show it in the photos and ask how the area should be prepared.
Ceiling shape also matters. A fixture designed for a flat ceiling may need different hardware on a slope. Long downrods, chains, canopies, and decorative medallions can affect positioning. Measure from the floor to the ceiling near the fixture. For a hanging light, include the desired height of its lowest point.
Access above the ceiling can also change the plan. Tell the pro whether there’s an attic, another finished room, or an exterior surface above the location. Don’t assume that attic access means the exact fixture position is reachable.
Outdoor access brings separate questions. Send photos of the wall or ceiling, the fixture, and the surrounding surface. The outdoor fixture installation guide explains the details worth checking before an exterior project. Fix Pro San Diego can also match homeowners through its Poway handyman service page.
What fixture weight and hardware can change
Fixture weight matters because the ceiling box and mounting assembly must be suitable for that fixture. A small flush-mounted light doesn’t create the same mounting question as a large pendant or chandelier. Give the pro the manufacturer’s listed weight instead of guessing from the package size.
Send a photo of the label, instruction sheet, or product page. Include the model number when it appears on the box. The instructions can show whether the fixture includes a mounting plate, crossbar, chain, downrod, anchors, or specialty fasteners.
Don’t assume every part shown online arrives in the carton. Open the package carefully and compare its contents with the included parts list. Keep protective wrapping on fragile pieces. If hardware appears missing, tell the seller and the pro before the appointment. That prevents the quote from being based on parts that aren’t actually available.
The existing mounting point is equally important. Remove only what you’re comfortable handling safely. If the old fixture remains installed, send photos of its canopy and the ceiling around it. Don’t open electrical connections just to take a picture. A licensed pro can inspect concealed parts when needed.
Decorative choices can also add steps. Examples include aligning several pendants, shortening a chain, assembling hanging pieces, or positioning a canopy against a ceiling medallion. Describe the finished look you want. For grouped fixtures, include a sketch with the spacing and orientation.
A quote should state who supplies the fixture and mounting parts. It should also say whether assembly, removal of the old fixture, and placement of the removed item are included. Clear responsibility makes competing quotes easier to compare.
When wall or ceiling repair becomes separate work
Removing an old fixture can expose more than an electrical box. The previous canopy may have covered an oversized opening, old paint, cracked texture, anchor holes, or a ceiling mark. A smaller replacement canopy can leave those areas visible.
That finish work isn’t always part of the fixture quote. Ask whether the proposed scope includes patching, texture work, primer, and paint. Those are separate tasks, even when they happen around the same opening. If the pro excludes them, the written quote should make that clear.
Send a photo with the old fixture visible and measure the existing canopy. Then send the dimensions of the new canopy or mounting base. Comparing those measurements can reveal a likely coverage gap before the old light comes down. It can’t confirm the hidden surface condition, but it gives the pro better information.
New fixture locations may involve planned openings for access. Ask whether any opening is expected and who closes it afterward. Also ask what level of finish is included. A filled opening, matched texture, primer, and full paint blending aren’t interchangeable descriptions.
Paint matching deserves its own conversation. Keep the original paint name or container if you have it. If you don’t, say that upfront. Don’t promise yourself that a small touch-up will disappear. Lighting angle, texture, and the existing finish can make a repaired area more noticeable.
If the project may include a ceiling patch, review the site’s Poway drywall repair guide before approving the scope. The goal isn’t to bundle every possible repair. It’s to identify visible finish work before comparing fixture quotes.
Photos and measurements to send before booking
A useful quote request lets the pro understand the fixture, location, access, and desired result. Start with a short description such as “replace the dining pendant in the same location” or “add a wall light where no fixture exists.”
Then send the details that apply:
- A wide photo showing the room and floor below the fixture
- A close photo of the existing fixture and ceiling canopy
- The new fixture’s manufacturer, model number, and listed weight
- Photos of the instruction sheet and included mounting hardware
- Ceiling height measured near the installation point
- New canopy dimensions and existing canopy dimensions
- The desired hanging height for pendants or chandeliers
- Photos of nearby switches and relevant access areas
- Any visible holes, stains, cracks, texture, or paint differences
- A note explaining whether the fixture is already on site
For an exterior fixture, include daylight photos of the wall, overhang, approach, and existing mounting point. Mention whether you’re requesting a same-location replacement or a new location. Don’t describe a new location as a swap simply because both projects use similar fixtures.
Ask for a written quote that identifies the work included, fixture assembly, removal, mounting, finish repair, permit handling if applicable, and materials supplied by each party. Fix Pro San Diego doesn’t set prices. The San Diego light fixture cost guide can help you organize quote questions.
For regulated work, confirm the professional’s license status through the CSLB license check. Also compare the quote against the fixture instructions and your photos. A lower number isn’t useful if it excludes necessary mounting, access, or repair work.
Ready for a quote
Hand the project to a pro when the location lacks an existing fixture, the ceiling is difficult to reach, the mounting support is unclear, or finish repair may follow. Fix Pro San Diego is a referral service that matches homeowners with licensed, independent local pros and performs no physical work itself.
Call (858) 400-4611 and we’ll match you with a local pro who quotes the job before starting.
Would you rather hand this one to a pro than do it yourself? Call (858) 400-4611.
Request a quote