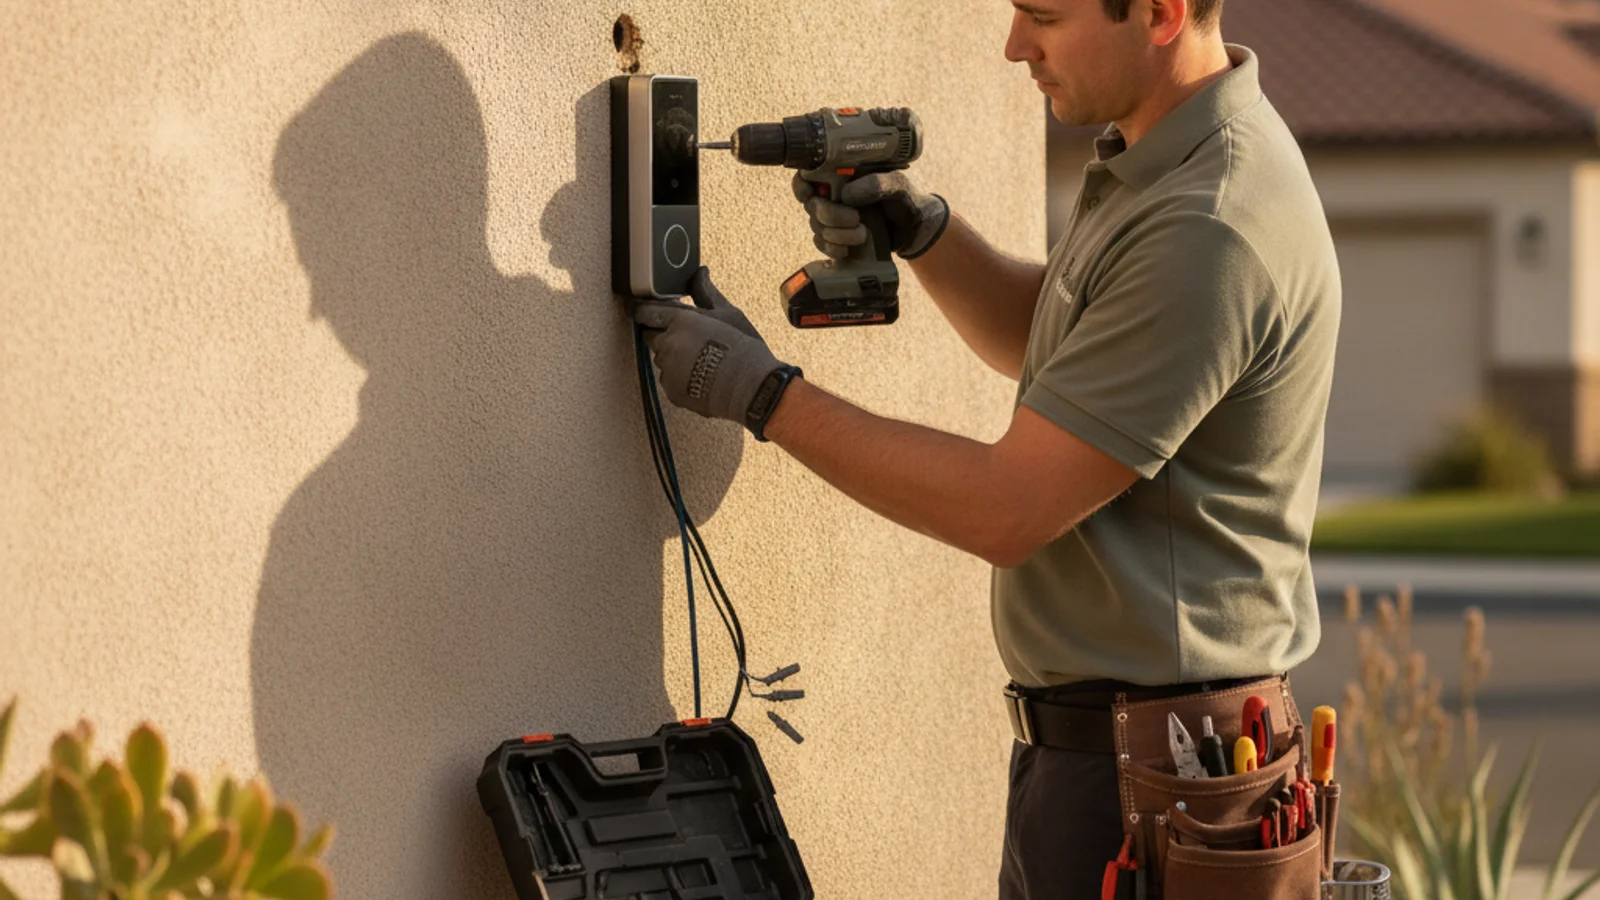
Smart doorbell installation in San Diego runs roughly $75 to $200 in labor, on top of whatever the doorbell itself costs. Ring and Nest are the two most popular brands homeowners ask us about, and both come in wired and battery versions that install very differently. San Diego’s stucco and brick exteriors are the biggest reason costs vary from house to house.
Wired vs. battery: the price split
The single biggest factor in your final price is whether you’re installing a wired doorbell or a battery powered one.
Battery powered smart doorbells are the simplest install. They mount to your existing exterior wall with screws and anchors, no electrical work required, which keeps you closer to the $75 end of the range. Wired doorbells connect to your home’s existing doorbell transformer and wiring, which means more time troubleshooting the connection, testing voltage, and sometimes replacing an old or underpowered transformer. That pushes wired installs toward the $150 to $200 end.
If your home already has a working doorbell with visible wiring at the door, a wired smart doorbell is usually a straightforward swap. If there’s no existing wiring, running new wire from the transformer to the door adds real labor and cost, and a battery model may be the more practical choice.
What the existing transformer means for your install
Ring and Nest wired doorbells need a certain amount of power to function correctly, and older homes sometimes have transformers that don’t put out enough voltage. This is one of the most common surprises during installation.
A quick voltage check at the start of the job tells us whether your existing transformer can handle a smart doorbell. If it can’t, swapping it for a compatible one is a small additional job, but it does add to the total cost and sometimes requires a trip back with the right part. Homes built before the 2000s are more likely to need this step than newer construction.
Why stucco and brick complicate the mount
San Diego is stucco country, and a huge share of homes here also use brick or stone veneer around entryways. Both surfaces make doorbell mounting more involved than the drywall or wood trim installs most doorbell instructions assume.
Stucco requires drilling into a hard, brittle surface without cracking the finish around the hole, and any wiring that runs through stucco needs a properly sealed penetration to keep water out. Brick and stone veneer need masonry bits and the right anchors, since standard drywall anchors won’t hold in either material. Getting this step wrong is how homeowners end up with a doorbell that’s loose, crooked, or sitting over a cracked patch of stucco that needs a repair later.
What’s involved in a proper install
A full smart doorbell installation covers more than mounting the unit.
- Checking existing wiring and transformer voltage, if it’s a wired install.
- Removing the old doorbell button or chime hardware, if applicable.
- Drilling and anchoring into stucco, brick, or siding correctly for the wall type.
- Wiring or connecting the battery unit and confirming a solid signal to your Wi-Fi network.
- Testing the video feed, motion detection, and chime connection before wrapping up.
- Sealing any exterior penetration points against water intrusion.
Skipping steps like sealing the mounting holes might save a few minutes, but it’s how water finds its way behind stucco over time, which turns into a bigger repair down the line.
DIY vs. calling a pro
A battery powered doorbell on a wood or vinyl trim surface is a reasonable DIY project for most homeowners with a drill and a level. Stucco, brick, or a wired install changes that calculation.
Drilling into stucco without cracking it takes the right bit and a steady hand, and getting the anchor placement wrong means redoing the hole. Wired installs carry the added risk of working near live low-voltage wiring and diagnosing transformer issues, which isn’t always obvious from the doorbell app’s error messages. If your walls are stucco or brick, or you’re not sure whether your existing wiring will work, it’s worth having someone who installs these regularly handle it in one visit rather than troubleshooting it yourself over a weekend.
Bundling a doorbell install with other small jobs, like a light fixture swap or general repair items, is also a good way to make the most of a single service call instead of paying for separate trips.
Frequently asked questions
Can I install a smart doorbell myself?
If you have a battery powered model and a wood or vinyl exterior, yes, most homeowners can handle it with a drill, a level, and basic anchors. Stucco, brick, or a wired install raises the difficulty and the risk of a bad mount or wiring issue, which is when it makes sense to call a pro.
Does my existing doorbell wiring work with a smart doorbell?
Often, but not always. Smart doorbells need a certain minimum voltage from your transformer, and some older homes have transformers that fall short. A quick voltage test at the start of the job tells you whether your existing setup will work or needs an upgrade.
Why does stucco make installation more expensive?
Stucco is a hard, brittle surface that cracks easily if you drill it wrong, and it needs specific anchors and careful hole sealing to keep water out. That extra care takes more time than mounting on wood trim or drywall, which is reflected in the labor cost.
How long does a smart doorbell installation take?
A straightforward battery install usually takes 30 to 45 minutes. A wired install on stucco or brick, especially one that needs a transformer check, can take an hour or more.
For a smart doorbell install that accounts for your specific wall type and wiring, call Fix Pro San Diego at (858) 400-4611. For related electrical fixture work or general repairs before your install, we handle those in the same visit whenever possible.
Want a flat-rate quote for this instead of doing it yourself? Call (858) 400-4611.
Request a quote